
Often, people believe that they have to spend a lot of money to make a space beautiful. While a bigger budget does perhaps provide more flexibility with what can be done in a space, a beautiful space doesn't have to be expensive.
Here are some tips when transforming a room on a tight budget:
1) Learn the Rules:
Knowledge has more power in designing a space than wallet-size. You can fill up a room with beautiful, expensive items, but if you don't know the rules of how to pull them all together, it will still look "off" no matter how much money you spend. Knowing the rules is fundamental in creating a beautiful space on a tight budget.
2) Plan it Out:


Whether you quickly sketch it out on a piece of paper, or use a more advanced drawing program such as Google Sketch-Up, create some kind of visual representation of your vision for your space before you get started. Working out your mistakes and problems in your plan first will save you a lot of time and money. Don't start in on your space until you know exactly what you want to do with it, and equip yourself with DIY knowledge, so that you know how you are going to do it.
3) Look to What You Already Have First:
Once you know the rules, look at what you already have, and how it could be used in the space. Think creatively. Look at things not as they are, but how they could be.


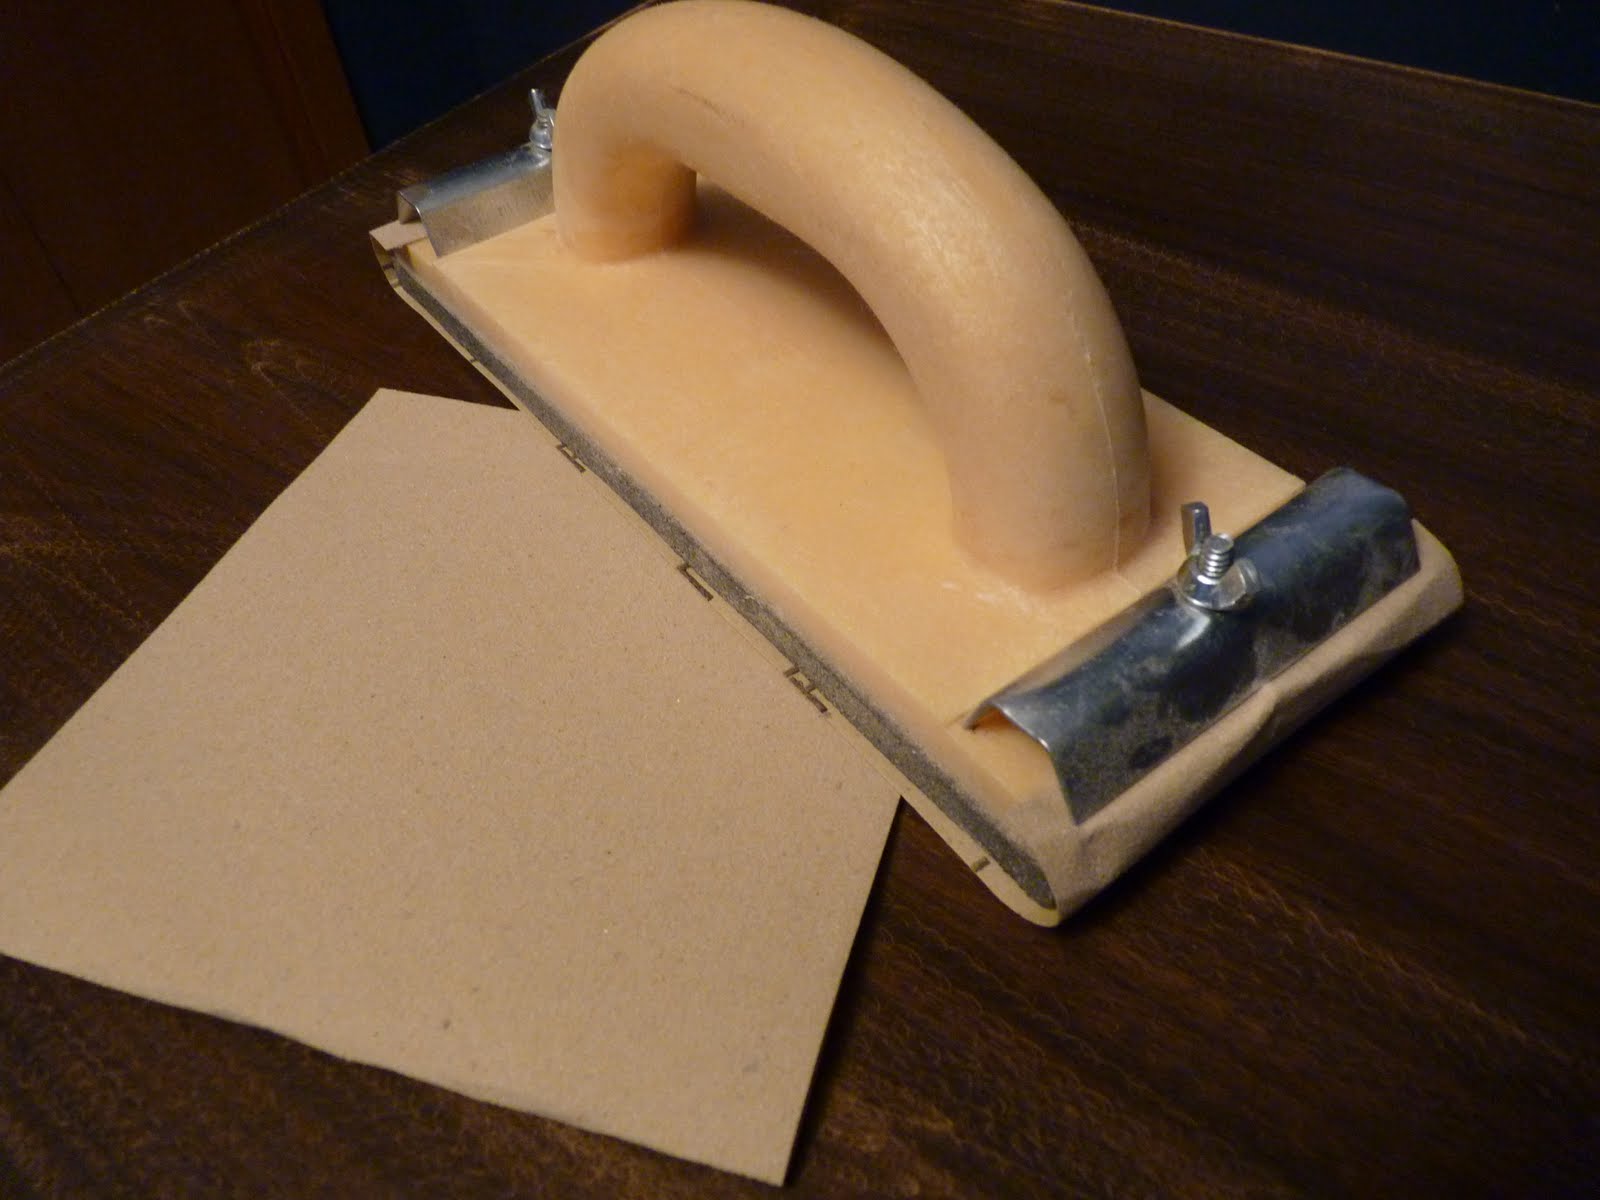
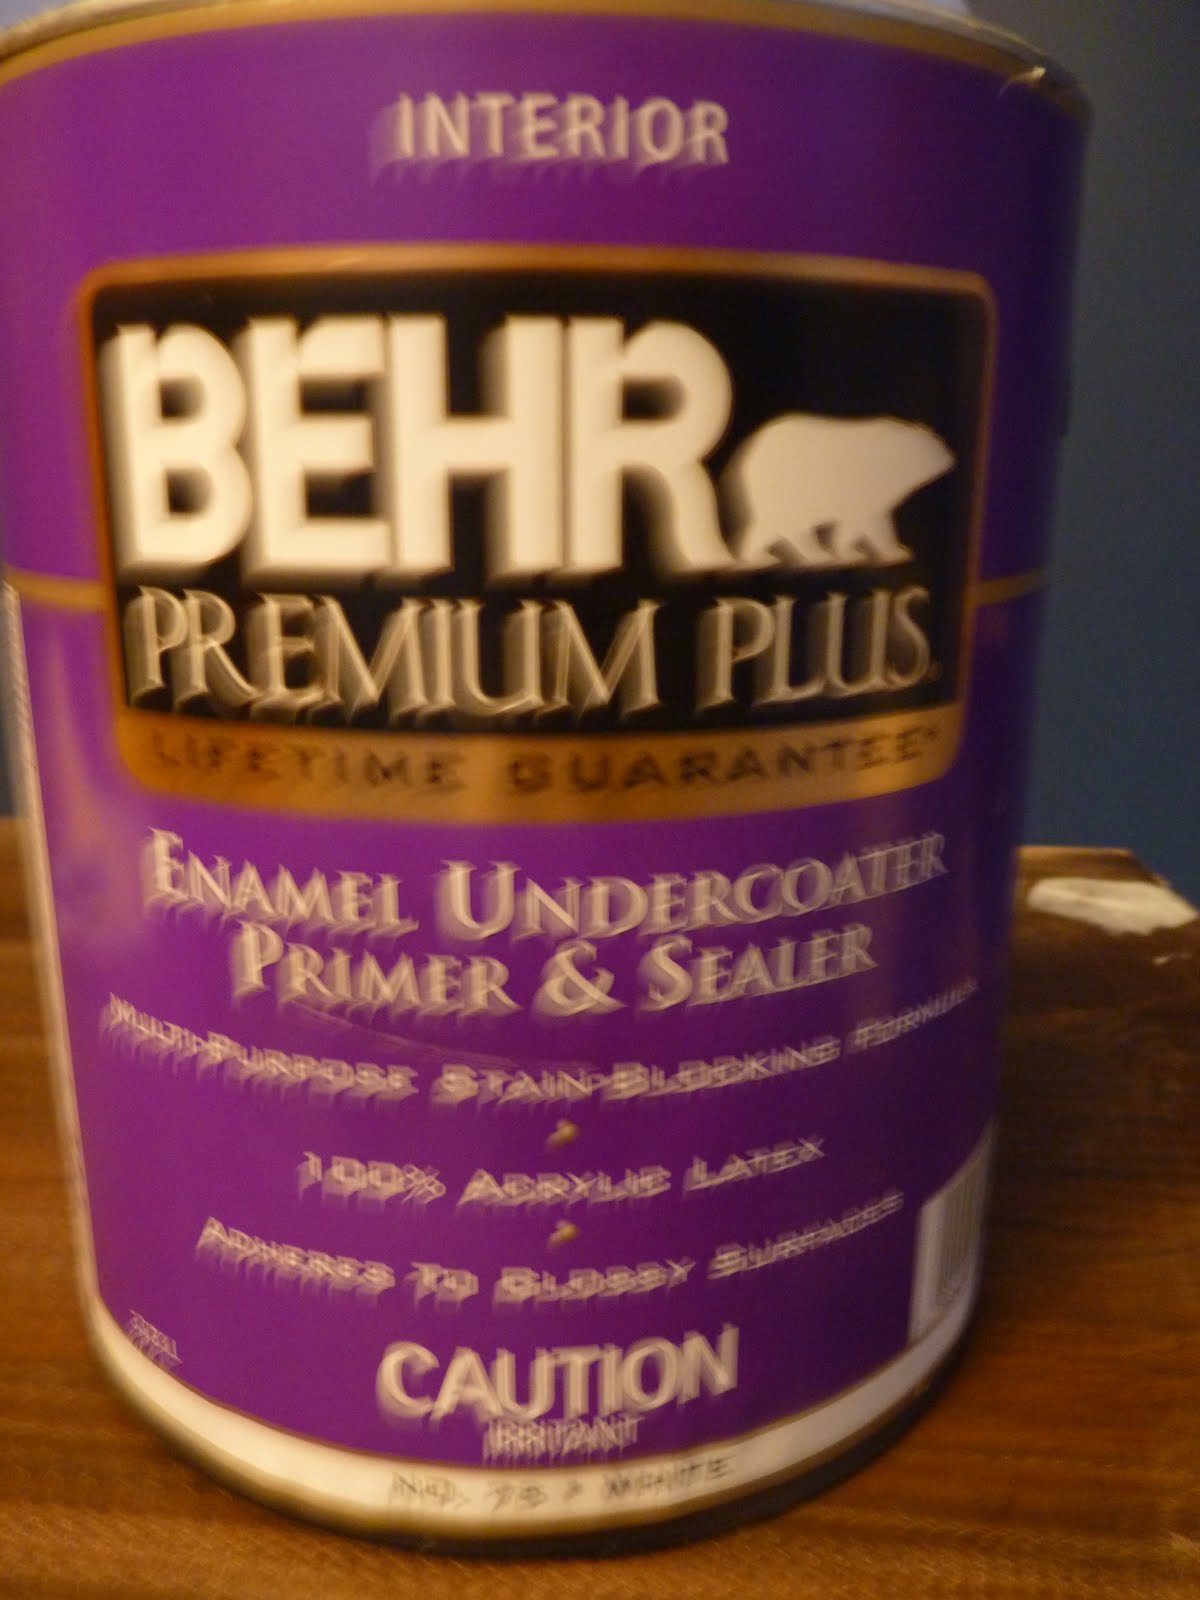
In this case, my clients like a lot of first time parents had an eclectic mix of hand-me-down furniture and gifts for their nursery. The pieces they had were functional and in good shape. The biggest problem was that they didn't match (ie: there was too much variety and not enough unity). This problem was easily and affordabley changed by painting the existing furniture white, and covering the existing rocker with a white slip-cover, thus creating more much needed unity in the room.


4) If You Have to Acquire Something New, Look at Purchasing the Item 2nd-Hand First:
Purchasing items (particularly furniture) 2nd-hand can save you hundreds of dollars.

One piece that my clients were missing was storage for all of their beautiful little girl's beautiful little clothes. We found this dresser on Kijiji for $20. Again, using our knowledge of design elements and principles, we looked at it not for what it was, but what it could be. We painted it white to match the other pieces for the room, and replaced the hardware to match other hardware in the room, again creating more unity in the space. The classic details on the top drawer of the dresser brought some more interest and variety into the room without disturbing the unity we were working to create, fostering harmony.

We also needed some kind of storage unit to go above the washer and dryer, and found this nearly-new shelf on Kijiji for $30.

It matched our design plan just the way it was, and brought in a little more variety by adding some new rounded lines, but without disturbing unity as the rounded lines of the shelf corresponded well with the rounded lines on the top of the bookshelf, and the crib.

We found an out-dated brass and glass chandelier in a local 2nd-hand shop for $25. The lines and shapes of the chandelier brought more interest and variety to our space. Like much of the furniture in the room, we painted it to bring it in with the unity of the room and it became our crowning piece!

Fabric is often one of the more expensive items purchased for a room. You can save a lot of money by purchasing 2nd-hand fabric but be careful: make sure the fabric is in good-shape (free from stains, etc), and most importantly, make sure that there is enough of it. One of the main problems with 2nd-hand fabric is that if you run out, you will most likely not be able to match it, so make sure that you have enough. In this case, I had some left-over brown fabric from a previous project that would work in my clients' room. We found some curtains made with enough green fabric to use for our purposes, and a queen-sized sheet in just the right tone of pink that we could use.
All of these decorative touches were purchased at local 2nd-hand stores, the most expensive item being $5.99:


5) If you Have to Purchase Something New, Don't Pay Full-Price:
Wait for sales, or look for promotional offers such as coupons. My client wanted some nicer picture frames for the room which would house pictures they just had taken with a photographer. We found a great sale on picture frames at Micheals, and used a coupon from their flyer to save even more money. My client was able to get the frames she wanted for %65 less than the original price! We also purchased the floral arrangement for the bookshelf using a %40 off coupon from the flyer at Micheals.

The roller-blind for the window had to be a custom fit, and couldn't be purchased 2nd-hand, however, finding the right discounts we were able to take the price down from $39 to $16!

When you don't have the opportunity for discount, make sure you shop around and get the best price. You'd be surprised by what you can find in a dollar store! Sometimes in the interests of saving money, you may have to compromise and purchase something that isn't exactly what you were looking for, but is close enough, or can be easily altered to become close enough.
6) Make Your Own Art:
Tap into your creative self and save money! Take your own photos, get crafty, use your artistic talents - but always remember to keep in mind the elements and principles of design in whatever you compose!
 In this case we filled the client's existing photo-frame screen with artificial flowers in colours coordinating with the room's colour scheme to create an interesting piece of art. Simple, effective, and cheap. Total cost for this project, $3.
Just how much did it cost to turn this:
 into this?:
Grand Total: $474
We started with a working budget of $300, but during the process, the client decided to make some additions and upgrades which boosted the total cost. That's a total room transformation for less than $500 (not much more than what it would cost to buy a single piece of furniture brand-new).


