
TOOLS & MATERIALS:
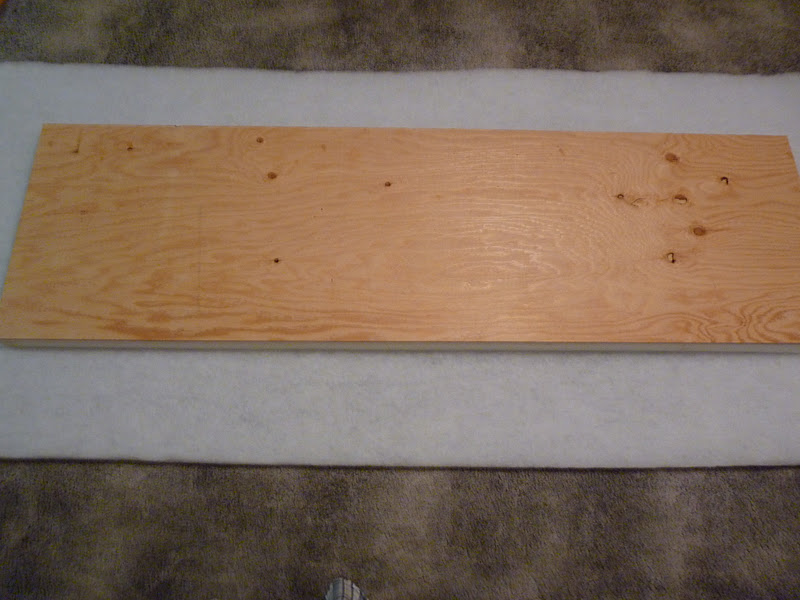
- 1/2 inch sheet of plywood cut to size (width of bed x desired height)
- 2 inch thick piece of dense foam cut to size of plywood
- Quilt batting (enough to wrap around plywood and foam)
- Desired fabric (enough to wrap around plywood, foam and quilt batting - fabric with a bit of sheen looks best, but has to be thick/strong enough to handle the upholstering process)
- 1x6 piece of lumber (at least 6 feet long)
- 2 inch long wood screws
- 2 inch long anchoring wood nails
- Staple gun and staples
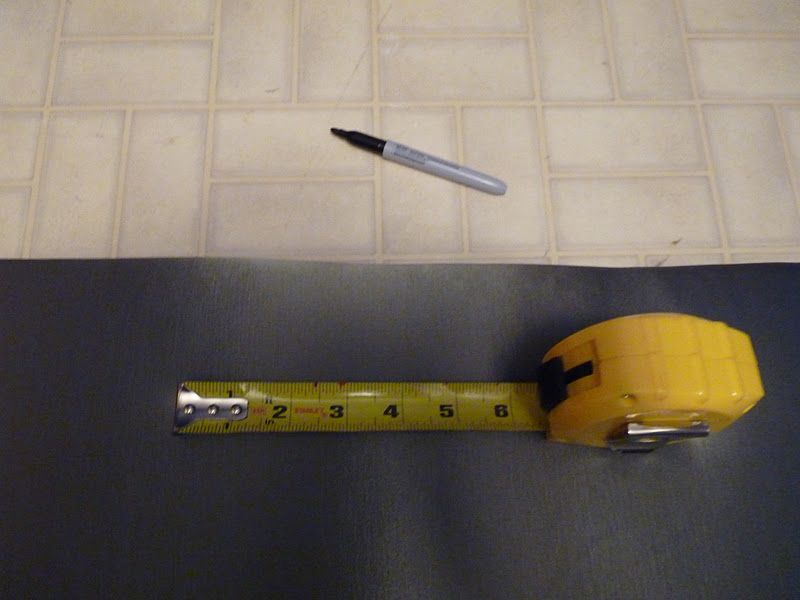
- Measuring tape / ruler
- 4, 1/4 inch thick by 2 inch long bolts with wing-nuts
- Fabric scissors
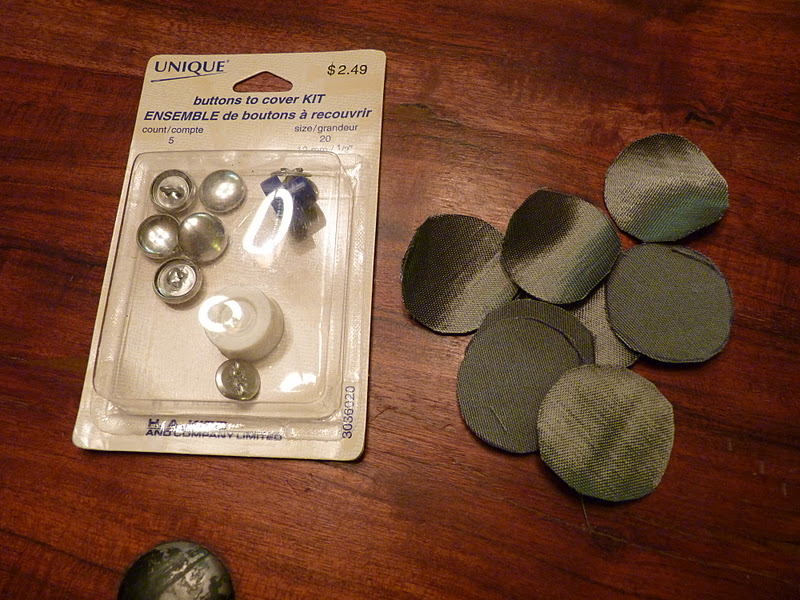
- Fabric covered button kit and buttons
- Drill
- Screwdriver
- Hammer
- Nail punch
- Fabric marking pen
PROCEDURE:
Step 1: Cut quilt batting to be about six inches longer on all sides than your cut plywood. Lay out quilt batting on a clean, flat surface (probably floor). Place foam in center of quilt batting, place plywood on top of foam. Ensure everything's properly aligned, then firmly pull quilt batting around to the back of the plywood and tack in place with a staple gun around all edges.


*Tip*
To avoid extra bunchiness around the corners, cut a square out of the quilt batting at each of the corners (an inch or so from the plywood) before folding the corners in and tacking in place.


When finished, foam should be securely fastened to the plywood by the quilt-batting:

Step 2: Cut fabric to size (larger than your piece of quilt batting by about an inch or so), iron, and place on a clean flat surface (probably floor), right side down. Place padded plywood in center of fabric, padded side down. As with the quilt batting, cut out corners and firmly pull fabric around to the back of the plywood and secure entire length of edges with staple gun. Carefully fold in and tack corners as neatly as possible.

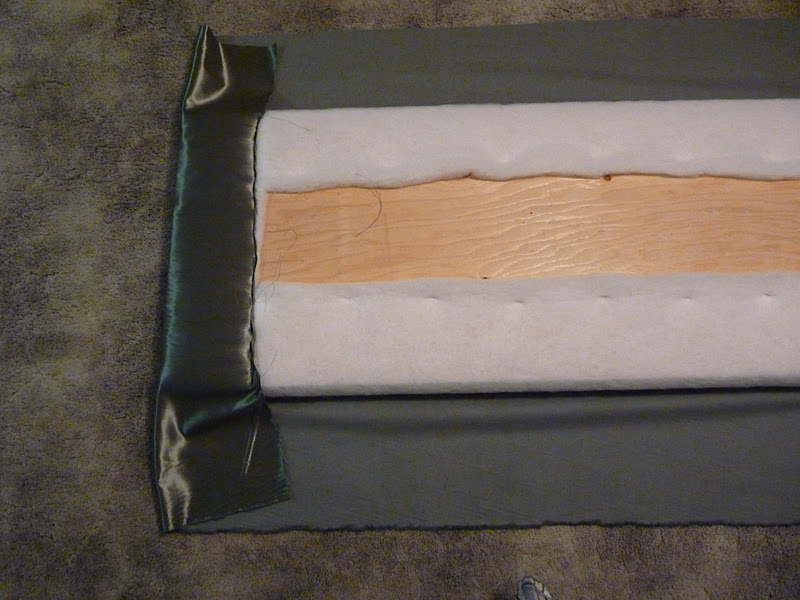


You really want to pull this as tightly as you can, so that the right-side surface of the headboard will be as smooth and taunt as possible:

Step 3: Figure out the desired spacing of your tufts by dividing the length and width of your headboard with the number of tufts you wish to have. Make sure you have it measured correctly so that tufted pattern will be equally distributed across the headboard. Configure your tufted pattern (should look like a 4 point diamond) on paper, and then carefully measure and mark pattern onto the right side of your headboard.
*Tip*
Take your time with this - make your mistakes on paper, and don't mark fabric until you are positive about what you need to do.

Step 4: Beginning with the middle row working out, place an anchoring nail at each marked point, and secure nail to plywood with hammer, sink in with a nail punch - be careful not to sink the nail in too far, or it will go through the plywood.


Step 5: Cover enough buttons of desired size with fabric to cover each nail-head in each tuft. Secure buttons to nail heads in tufts with a strong adhesive.
 | ||
| My first go with this I attempted to use hot-glue because it sets quickly, but I would probably reccommend something stronger. |
To extend the life and look of your headboard you may want at this point to treat it with Scotch Guard or another fabric protectant. Test on a sample of fabric before hand, and follow the instructions on the can.
Step 6: Cut 1x6 piece of lumber into 2 lengths of desired height for headboard (about 3ft high). Measure and mark where to drill appropriate 1/4" holes which will be used with bolts and wing nuts to secure head-board to bed-rail. Drill holes.
Step 7: Measure and mark where the top of the 1x6 length will be fastened to the headboard. Drill about 6 holes. Place 1x6 lengths on either side of the head board (according to measurments in order to make it fit with your bed-rail) and secure tops to back of headboard with wood screws where you drilled your 6 holes.
Step 8: Position head-board on bed, and tightly secure bottom of 1x6s to bed-rail with 1/4" bolts and wing nuts where your 1/4" holes are drilled. Enjoy!

You might also be interested in:
 |
| How to Re-Upholster Furniture with Deep Folded Tufts |


