
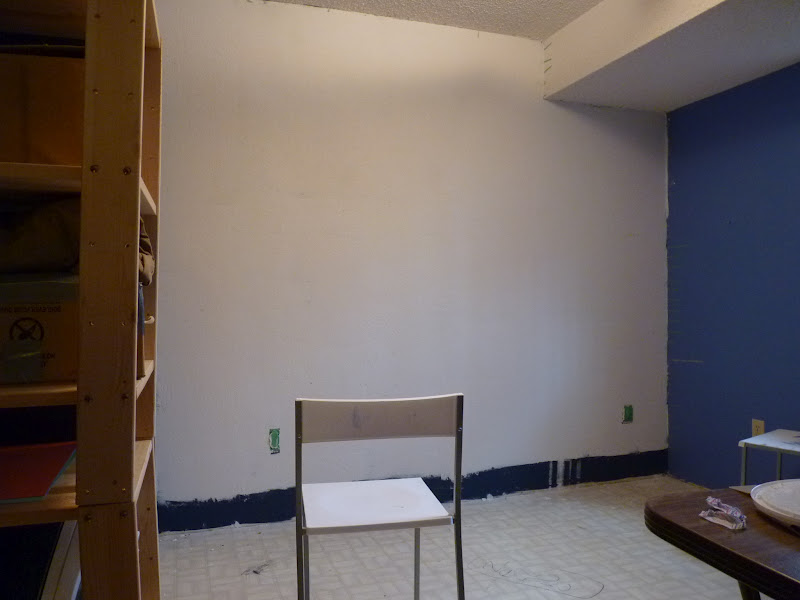
If you would like to do something like this in a space of your own, I would suggest that you make it as real as possible. I'm not a faux-snob, but if I'm going to go faux, I want to mimic what's real as closely as possible. The exterior of my house does have brick on the lower portion making a faux-brick wall on an exterior wall of a room in my basement more believable. I wouldn't suggest doing this in a space where brick just wouldn't be.
Next, ensure that having a brick wall in your space will fulfill appropriate design elements and principles. Give it a purpose. I wanted to create light and space in my little studio by turning the room for the most part into a pure white space. To successfully pull off a mainly monochromatic colour scheme, I needed to add more to the space by way of shape, line and texture in the absence of colour to create variety and avoid too much repetition. An exposed brick wall fit the bill.
MATERIALS:
- 2 gallon pails of interior stucco
- 1/4" painting tape (4 rolls for this particular wall)
- Piece of cardboard
- Ruler
- Pencil
- Exacto blade
- T.S.P. solution
- Fine sandpaper and sanding block
- Large dry-wall trowel
- Sea-sponge
- Putty knife or small dry-wall trowel
- Chalk-line
- A partner (this is a definitely a 2 person operation)
METHOD:
1) Prep Your Wall:

Remove any electrical outlet or light switch face plates, etc, and tape over remaining parts with painter's tape. Using fine sand-paper and a sanding block, give the surface of your wall a light sand, and clean up the dust. Using a rag and T.S.P. solution, thoroughly clean the surface of your wall and allow to dry.
2) Mark Your Wall:

Create a stencil: Using a ruler, pencil and Exacto blade, create a brick-sized stencil out of a piece of cardboard. I used the dimensions of the brick on the exterior of my house (7.5" x 2.25") to make my faux wall more believable. Using your cardboard stencil, and starting in the top left corner of your wall, mark the width of your brick stencil all the way down the left side of your wall, then do the same thing down the right side of your wall (or create 2 stencils, and have your partner do the right side while you do the left!)
Mark your horizontal lines: Have your partner hold the end of a chalk-line at the first mark on the top right corner of your wall. Extend the chalk line along the length of your wall, and hold it firmly at the first mark on the top of left corner of your wall. Snap the chalk line against your wall to create a straight, horizontal line all the way across your wall. Repeat this process with all your marks from the top to the bottom of your wall.
Draw the bricks: Starting at the top left corner of your wall, hold your cardboard brick stencil in-between the chalk lines, and use your pencil to mark the vertical line at the end of the stencil connecting the chalk lines at the top and bottom of your stencil. Move your stencil along the chalk lines to the right, aligning the beginning of your stencil with where you just marked the end, and use your pencil to mark the end of the stencil again. Repeat this process until you've made it across the length of your wall.
At the beginning of your second row, begin with only half your stencil, and then continue on with the full stencil in order to create the staggered brick pattern. Continue to mark the brick pattern from the top to the bottom of your wall.
3) Tape Your Lines:

Starting at the top left corner of your wall, firmly press 1/4" painting tape along the bottom of your first chalk line across the length of the wall. *Tip: try to keep the tape in one continuous piece as much as possible, and leave some extra length at the beginning and end* Repeat this process always taping along the bottom of your chalk lines from the top to the bottom of your wall.

Once you have finished taping your horizontal lines, you can begin taping your vertical lines, firmly pressing your 1/4" painting tape to the left of your vertical mark, beginning and ending your tape in the middle of the horizontal taped lines. Repeat this process always taping along the left of your vertical lines from the left to the right of your wall.
4) Apply Stucco:
Using a large dry-wall trowel, gently smear interior stucco mixture over the wall, being careful not to disturb the tape. Smooth to ensure even coverage. *Tip: the thicker you can make the stucco up to 3/8" the more realistic your faux brick will look.*


5) Texture Stucco:
When the stucco mixture is beginning to dry (becomes slightly soft, but not sticky), gently dab it with a damp sea-sponge. Keep the indentations made with the sponge in the stucco, but smooth any protrusions created by the sponge with a putty knife. I found it useful to follow along 1 section behind my Dad, who was doing the stucco spreading.
6) Remove Tape:
When stucco mixture is dry to the touch but still soft, begin removing the tape by gently pulling the horizontal tape lines from the excess on the side from the left to the right side of the wall. Use your sea-sponge and putty-knife to touch up any bricks that may require it after the tape is removed. Allow stucco mixture to dry and harden thoroughly.


7) Prime:
Apply 1 generous coat of primer to your faux brick wall, and allow to dry. *Tip: when painting heavily textured surfaces such as this, I find it useful to use my paint spray-gun, but it can be done with a brush and a roller designed for heavy textures*


8) Paint:
Paint your faux brick wall with 2 coats of paint allowing paint to dry in-between coats. Allow final coat to dry and remove tape from any electrical outlets or light switches and replace face plates.

Absolutely love this! I too, have a thing for brick walls indoors.
ReplyDeleteChampagne Lifestyle on a Beer Budget
This is INCREDIBLE! I am blown away! What a great project! And it really looks so beautiful!
ReplyDeleteThat looks absolutely fantastic!! Love it!!
ReplyDeleteThis is phenomenal! I am going to do this on my wall. Is there any risk of the stucco falling off when going over it a couple times with a paint roller? Also, what paint finish did you use? Semi-gloss?
ReplyDeleteNo - that's why you use stucco instead of drywall mud, or something like that. Once the stucco is dry, it's pretty much like cement. I used a semi-gloss finish, but you could use pretty much whatever you want.
DeleteMakes sense, thanks. And thanks for posting this great idea! :)
DeleteThis ia such an amazing idea!
ReplyDeleteWhy haven`t I thought of this;)
Thank you so much for sharing.
You have a new follower;)
Please come and visit my lil blog, if you like
Love from Germany...
Lydia
http://pudel-design.blogspot.de/
This is a really amazing and creative idea! Your results are so surprising and great! Pinning!
ReplyDeleteThe brick wall design are really great it it nice and unique idea.Thanks for creative information about how to build faux expose brick wall.
ReplyDeleteBellevue Stucco
this is truly stellar! Any idea on how to create a more distressed vintage look with greys and muted greens?
ReplyDeleteDid you find an answer? I would want to paint mine the classic reddish color...
DeleteWhat a terrific idea! I am going to try this in my kitchen, as a backsplash brick type look. Thanks!
ReplyDeletethe stucco guy
I can't find any stucco where I'm from! Do you think cement works just fine?
ReplyDeleteYou can buy interior stucco online, here's one option from amazon: http://www.amazon.ca/10504-All-Purpose-Ready-Stucco-1-Quart/dp/B000QH6YUW/ref=sr_1_2/186-0819811-7473723?ie=UTF8&qid=1389635037&sr=8-2&keywords=stucco
DeleteYou might be able to use cement, but I'm hesitant to recommend something that I haven't used before. If you want to use cement, I would suggest testing it out on a board before you apply it to your wall to see how it will work. Good luck!
LOVE THIS!!! But after you put on the stucco, how do you see the taped lines?
ReplyDeleteMake your horizontal tape lines slightly longer than your wall and stick either end onto the adjacent walls. Stick the vertical tape lines on top of the horizontal tape lines. When you pull the horizontal tapes lines off - the vertical ones will come along with it
DeleteHi! May I know what is the exact type and brand of painter's tape that you used? Thanks !
ReplyDeleteI just used the only 1/4" green painters tape that I could find at the hardware store - but if I had a choice, I would use Frog Tape - it is by far my favourite painter's tape!
DeleteStucco and bricks, huh? That’s a marvelous idea! Your DIY skill is truly exceptional to make this faux as real as possible! I could only imagine how laborous the process was, but that’s fine as long as you got this splendid result. Thanks for sharing!
ReplyDeleteGeoff Hull @ Gogo Contracting
This comment has been removed by the author.
ReplyDeleteHello! Where can I buy full gallons of interior stucco?
ReplyDeleteI bought mine at Home Hardware. You should be able to find it at any hardware store, but not everybody you talk to will know what you're talking about! Ask for a bucket of pre-mixed stucco to be used on an interior wall.
DeleteI want to do this to my basement stairway wall. It has previously been painted. Will the stucco stick to it or does the paint need to be sanded?
ReplyDeleteI would prep your wall first by using fine sand-paper and a sanding block to give the surface of your wall a light sand, and clean up the dust. Then use a rag and T.S.P. solution to thoroughly clean the surface of your wall and allow to dry before you apply the stucco.
DeleteWill the surface or grooves accumulate dust...thx
ReplyDeleteWill the surface or grooves accumulate dust...thx
ReplyDeleteHi, did you stucco the complete wall then peel off the tape or did you avoid putting stucco onto the tape?
ReplyDeleteThis is so awesome! I have been doing research to do this in our tiny house(the interior is currently a work in progress) I was going to use drywall mud, but after seeing yours, I will definitely be using the stucco mix!! I am so glad I saw this before I started. Your wall looks fantastic!!! Thank you :)
ReplyDeleteThank you for sharing such valuable and helpful information and knowledge. This can give us more insights! Keep it up. I would love to see your next update.
ReplyDeleteSpray Machines