Thursday, May 20, 2010

Curb Appeal Part 1: The House

Enhancing your home's curb appeal can greatly increase it's charm and value; however, exterior renovations can be costly and time consuming. Here's some simple things we did to update and add character to the exterior of our home without spending tons of money:


1) Paint It


With it's plain, utilitarian 1980's style, badly worn cedar siding, and dark trim our house had all the appeal of a rusty tin can. We did not have the budget to replace things, so we decided to move to option 2: paint it.

When designing your home's exterior, consider which things can be changed and which things can not be changed on your budget. Work with what you can not change. Do not try to go against it. Take into consideration the structural shape of your home, and choose a style that will work with it (ex: if your house is a straight, square box you can not make it look like a Victorian mansion without major structural changes).Our home was built in the mid 1980's and like many houses of that period lacked much shape or character. My biggest obstacle was the brick. I considered painting it, but wasn't convinced that I could do so effectively, so we decided that we could not change the brick, and this became the starting point we chose to work from when choosing colours for the house.


Most stores where you can purchase paint will provide you with sample templates for house exteriors. I took one home and considered all the options that used a brick similar in colouration to that of my house. We decided on a combination that included a pale, sage green which complemented the orange tones of the brick, and cream coloured trim which tied in with the accents on the brick, and would make important features stand out by making them brighter.


To prepare the house to be painted we chose to rent a pressure washer. This proved to be much more fast and effective than scraping, sanding and cleaning (although we did still have to do some of this particularly on the window trim). As soon as everything was dry, we began by priming the cedar siding, trim, and aluminum gutters (yes you can paint aluminum). Next came the paint, 2 coats of the green on the siding and 3 on the trim and gutters (because we were going practically from black to white). We purchased a small paint-sprayer which proved to be invaluable when painting the severely textured stucco which surrounds the rest of the house.
Scaffolding can be very effective in reaching high areas, but you have to make sure you have enough room without obstruction. In our case we could use it on one side of the house, but not the other, and had to use less convenient, but appropriate extension ladders instead.

2) Add Detail:


Adding accessories and details to the exterior of your home can greatly enhance it's character. A good way to know what kind of details to add to your home is to drive around and observe other houses in neighbourhoods that appeal to you. What kinds of details do you see repeated in the houses you like? Pay attention to the lines and shapes found on the houses that appeal to you. Try to find houses which have similar structural lines and shapes to yours - what have they done with it? Consider the possibilities of applying those elements to your home.

In our case, I really liked the Tudor-detail trim effect on peaked roofs that I saw on newer houses, and believed it would be simple enough to apply to the peaked roof on our garage. I did this by purchasing 1/4 lumber to use as trim, painted, cut, and attached it to the existing siding.

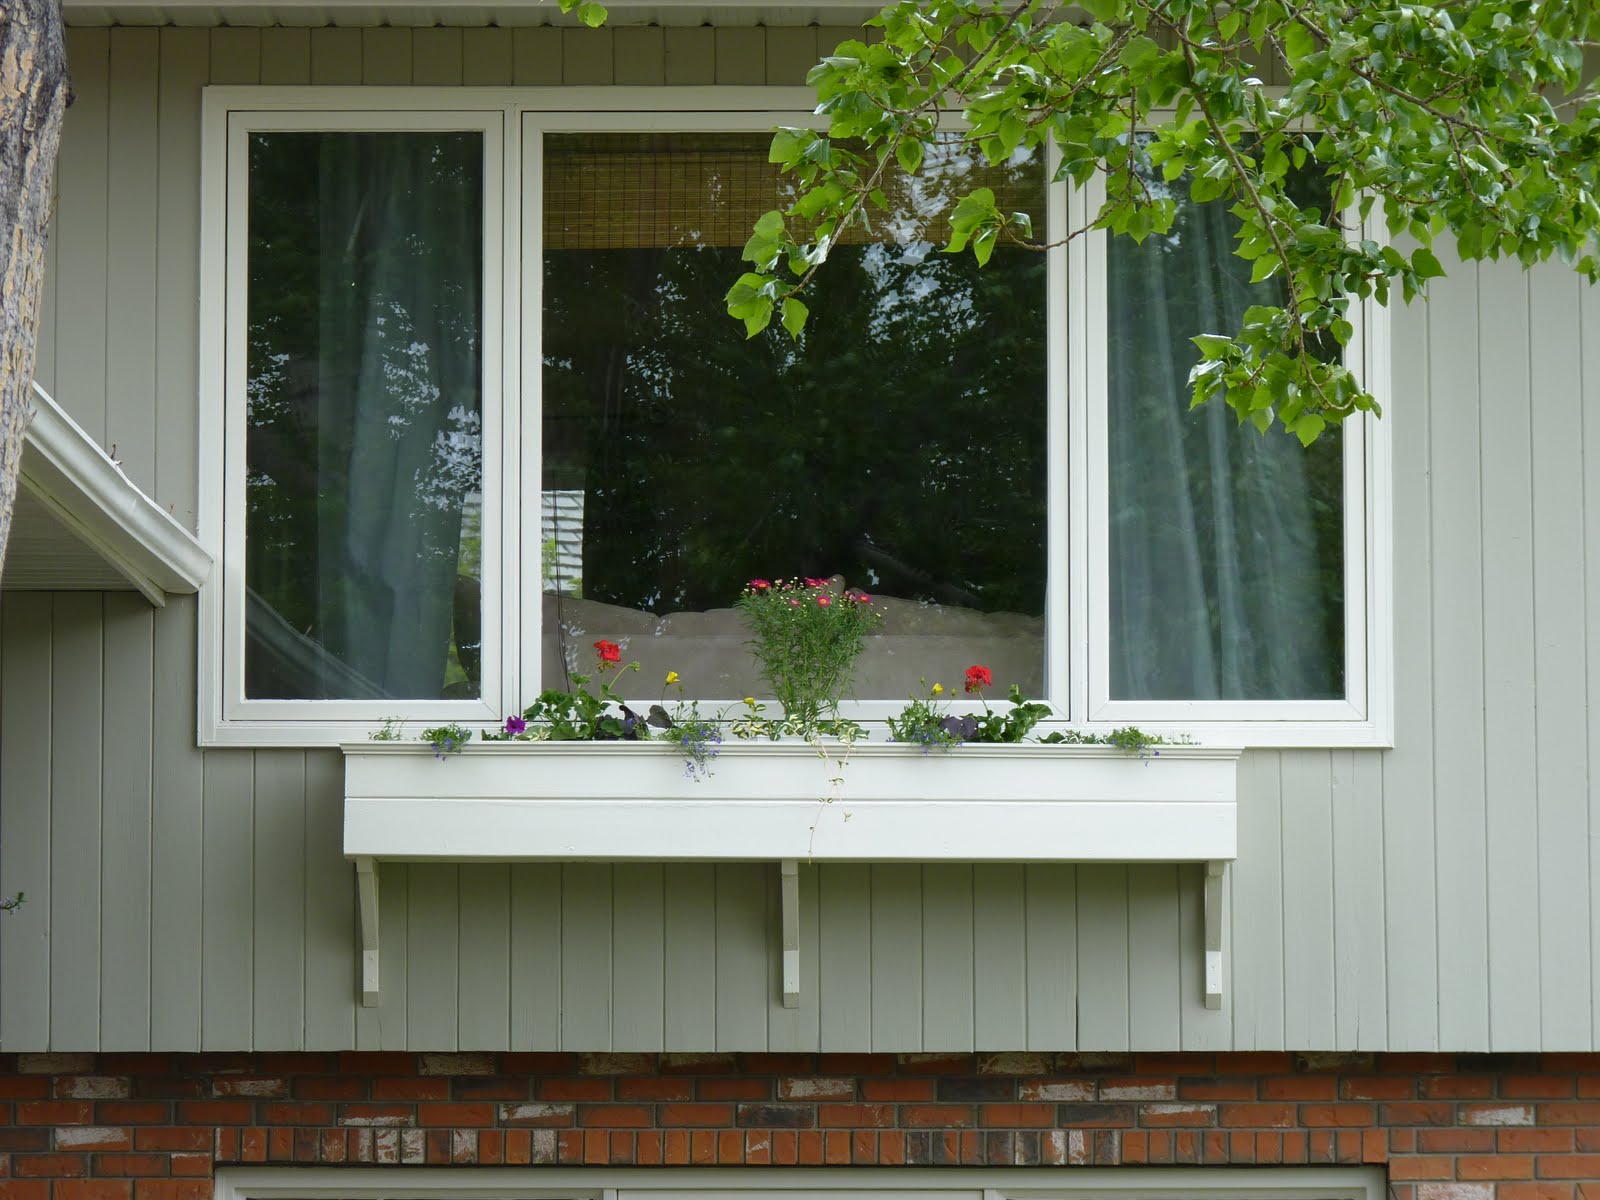
I also really loved classic window boxes held in place with brackets which I found on beautiful older homes. I choose to build a custom window box for our house and attach it to the empty space just below our large front window.

If you have small windows, using things such as window boxes and shutters can increase the character of your home and make your windows appear much larger.


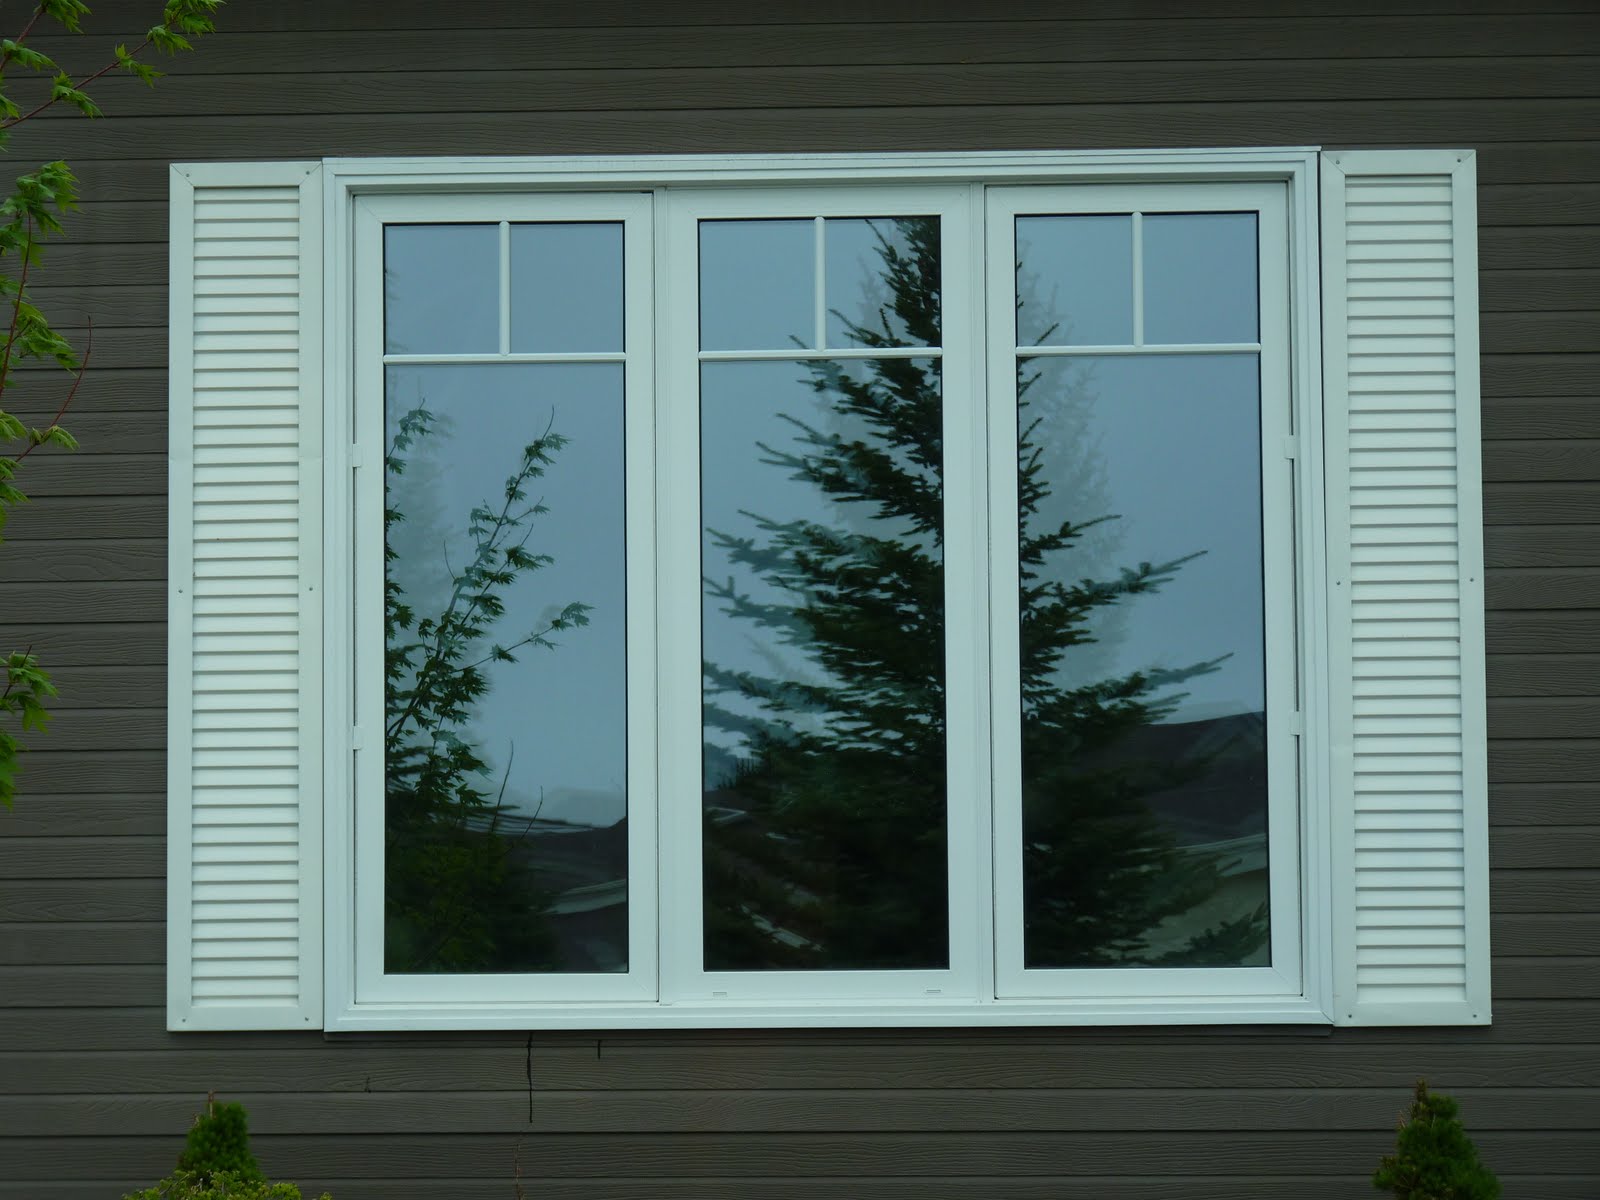
Another feature I found on houses I loved was details added to the actual window panes. Unfortunately, I have not yet figured out how to apply this to the front window of my house, but I'm still working on it!

All of these applications seemed to come together to create more of a classic cottage effect, which was much more appealing to us than the tired 1980's rectangular box we began with.

Sunday, May 16, 2010

Making the Most of a Small Space

Making a small space both functional and beautiful can be a challenge. My master bedroom needed to serve many functional purposes for our family with very limited physical space. Here are some steps I used to help our small master bedroom appear bigger and better.


1) Draw Emphasis to a Single Focal Point:


To make the design of your small space more effective, choose a single focal point. In this case, because of it's size, light, and architectural interest, the window in my bedroom was a natural focal point. The wall where I would place the head of my bed is another logical point of emphasis. By placing the bed beneath the window, I combined both of these places of emphasis into a single focal point, thus reducing confusion and competition between the 2, instantly making the room feel bigger.


2) Exercise Your Vertical Space:


Choose Drapes and furniture with long, tall lines. Extending the drapes from wall-to-wall and floor-to-ceiling helped to frame in the areas of emphasis (window and bed), making the focal point of the room more dramatic and dominant. By using the full length and height of the focal wall, the room is elongated and enlarged.

Choose furniture appropriate to your space. I ousted our old conventional dressers, opting instead for tall "his" and "her" wardrobes. This created 2 solutions for 2 problems: clutter, and limited floor space. The height of the wardrobes employs the use of long lines which like the floor-to-ceiling drapes draw the eyes up. Suited to be placed side by side, they take up less floor space than the old dressers, and provide more storage space. The height of the wardrobes also help to reduce the collection of clutter. Before, the tops of our dressers became instant drop-zones for whatever was brought into the room. The height of the wardrobes, make it much more difficult physically to drop things off on top.

I chose narrow nightstands with long, horizontal lines which helped to elongate the focal wall by filling it end-to-end, and provide plenty of storage space to drop things in, instead of on top of.


3) Remember Less is More
:

Do not place anything in the room unless it absolutely needs to be there in order to serve a functional or design purpose. In the case of my bedroom we needed the wardrobes, nightstands, and bed. The room is void of any shelves, tables, chairs, chests, or large decorative items which would only eat up space and make the room feel cluttered. The absence of these items contribute to the feeling of spaciousness, and reduce areas which typically collect junk and clutter.

I chose a more modern, contemporary design for my small space. It's not everyone's cup of tea, but I find that the straight, stream-lined, minimalist features of contemporary design work better in a small space. Again, less is more.

On the large wall, which could be considered the secondary focal point of the room, I chose to place 1 large picture with 2 adjacent smaller pictures, together forming a rectangular collage. While pictures don't eat up floor-space, too many pictures placed even on a large wall can make a space feel cluttered. Choose a few (1-3) large pieces of art to hang on a wall, or several small pieces organized and grouped together to form 1 large shape (giving particular heed to the negative space created in between the smaller pieces to create consistency).

Don't feel like every space needs to be occupied. Leaving purposely selected areas bare, or empty will contribute to the sense of spaciousness.

4) Organize and Contain the Clutter:

Sort through and organize your stuff. Reduce the amount of stuff accumulated when and wherever possible. Find an appropriate, designated place for needed things. If you can not find a proper place for something discard it, or move it somewhere else.

I designated a specific shelf in each of our wardrobes for small items which typically found themselves in clutter drop-zones (cosmetics, keys, gum, bills, change, receipts, ETC). Containing these types of objects in baskets, boxes, drawers, shelves etc is effective in reducing clutter because eventually the space is filled, which should provoke one to sort through, organize and reduce contained items. When things are left in piles (even organized piles), it is not only unsightly- the spillover potential is limitless, because there's nothing save the room itself to cap off the available space.


I organized my closet with a standard utility shelf for my craft, sewing, knitting, and project stuff (located in the left side of the closet, unseen in this picture), and 4 deep laundry baskets (again think vertical space) to contain the massive amounts of laundry that always seems to accumulate in our bedroom.

It's effective, it's organized, and most importantly, it's out of sight.

Thursday, May 13, 2010

How To Make Your Own Headboard

Making your own headboard can save you money, and help you to achieve a more custom look!

Materials Needed:

-Large piece of plywood or compressed board
-Quilt batting and/or foam
-fabric
-1x4 piece of lumber
-Screws
-Staple gun and staples
-Measuring tape
-Fabric covered buttons (optional)
-Bolts and Nuts (optional)

Step 1: Measure the width of your mattress, and the height you wish your headboard to be. (In this case 59" long, 30" wide to fit a queen sized mattress.)

Step 2:
Visit your local building supply store and purchase a piece of plywood, or compressed board no less than 1/4" thick. (tip: take your plywood to the in-store cutting station. Most places will give you 2 free cuts - which is all you need for this project)
Step 3
: cut quilt batting and fabric slightly larger than plywood (if you want a thicker look, cut foam to fit plywood and glue it on. Cut quilt batting and fabric big enough to wrap around foam to the back of the plywood)

(In these photos I am re-covering a previously made headboard)

Step 4: Tightly wrap quilt-batting and fabric around to the back of the plywood on both long sides and secure in place with staples. (Make sure to staple secures both the fabric and the quilt-batting to the plywood)


Step 5: Fold corners of fabric and quilt-batting on ends into triangles. Tightly pull ends over and secure to plywood with staples.


Step 6 (optional): Turn headboard over and staple indentations on front in desired pattern. Cover staples with fabric covered buttons if so desired.


Step 7: Measure height from ground to where you want the bottom of the headboard to rest (typically just below the mattress) and add an additional 6 inches or so. Cut 2 lengths of 1x4 lumber according to measurement.

Step 8: Drill 3-4 holes in the top end of your 1x4 pieces to accommodate screws which will attach the lumber to your headboard.

Step 9 (optional): Drill 2-4 holes in bottom of 1x4 pieces to accommodate bolts which will attatch your headboard to your bed-rails.

Step 10: Attach 1x4 pieces with screws on either side of the back of your headboard (make sure they're even)

Step 11: Attach headboard to bed-rails with bolts if desired, or if bed is against a wall, simply slip the headboard in between the bed and the wall.