
When we moved into our house 5 years ago, the main-floor bathroom was perhaps the most detestable space. I knew it was going to need a total overhaul, so I didn't bother to touch it until I could do it all.


I lived with this bathroom for 5 YEARS, and then the time for change finally came!
DAY 1: Out With The Old!
We began by ripping everything out. We had replaced the bathtub/shower a few years earlier due to mold and water-damage issues, and then replaced the toilet for water conservation purposes a little while later, so those things stayed - but everything else had to go, and it felt sooo good to get rid of it all!


DAY 2: Re-Routing The Lights

As part of my renovation plan I didn't just want to replace the old light fixture. Instead I had an entirely different lighting plan in mind that involved a fair amount of electrical work to re-route the lights from one fixture above the mirror to 2 fixtures, one on each side of the mirror. Drywall had to be cut open, studs had to be drilled through, the attic had to be crawled in, the breaker had to be replaced. It was a fair amount of work - but worth it in the end!
DAY 3: Tape & Mud
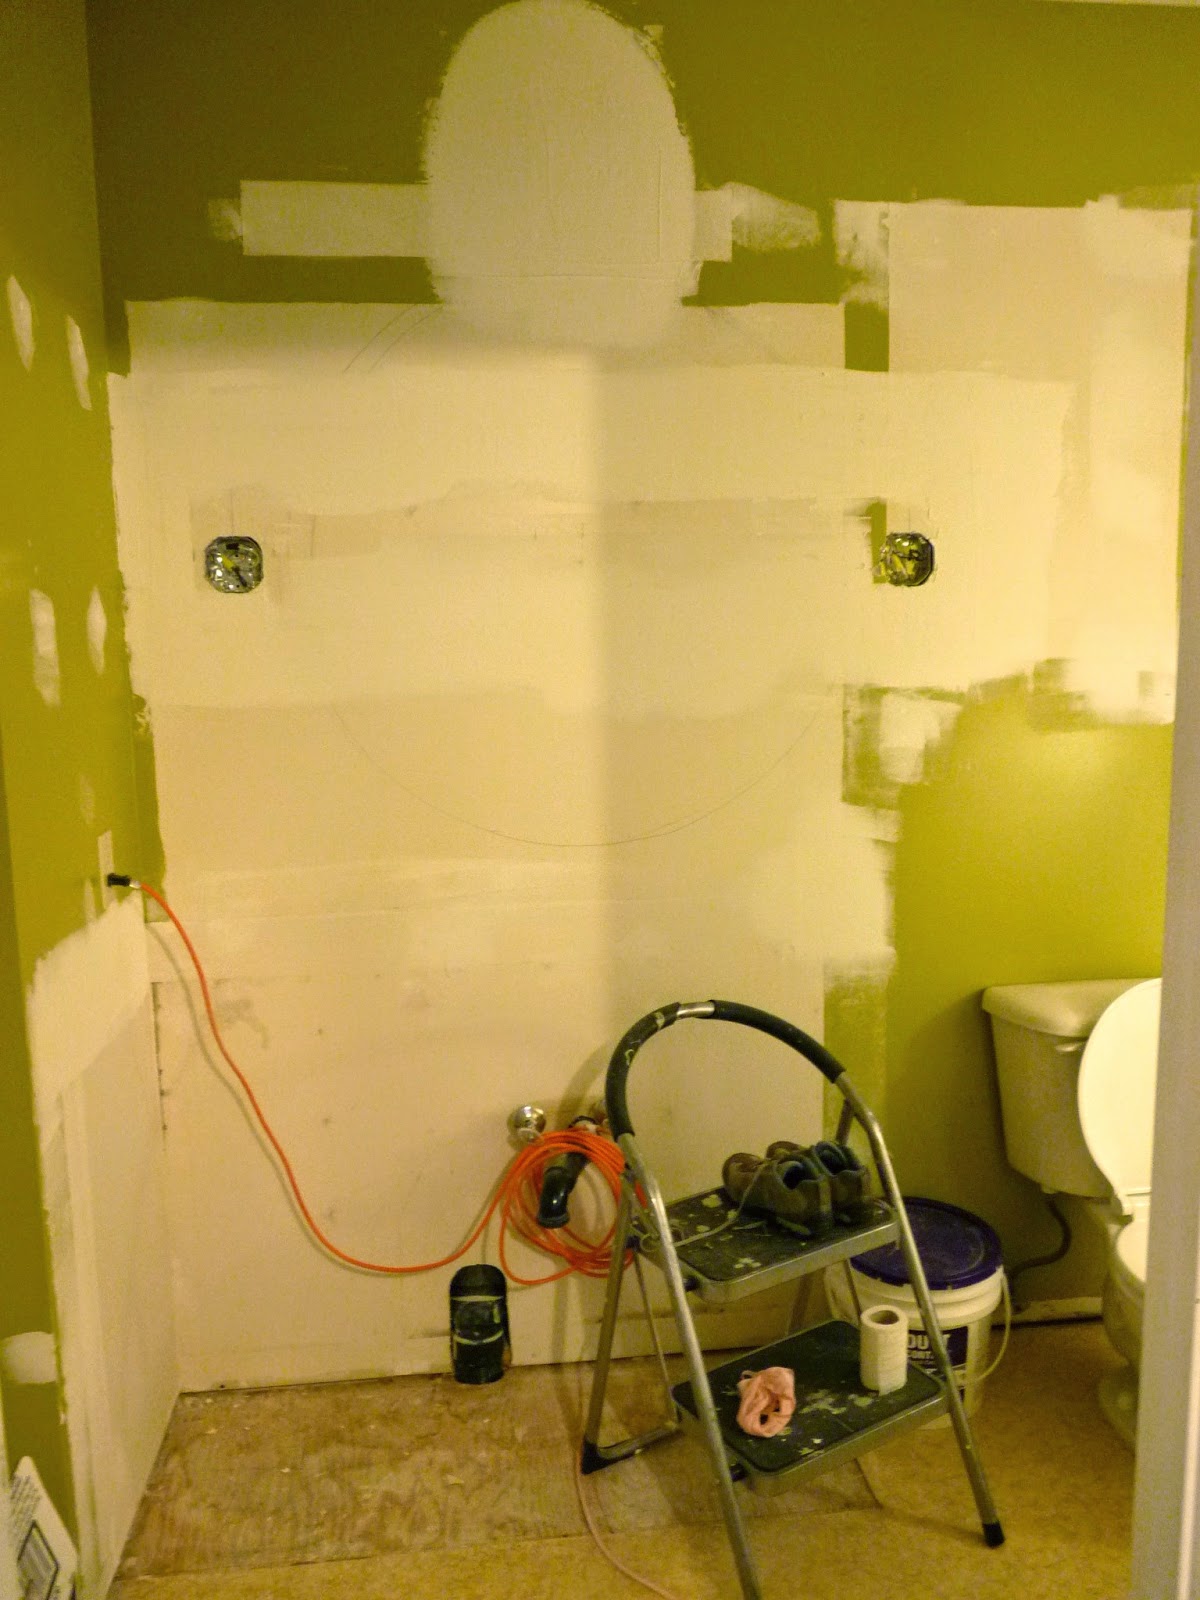
Day 3 was about patching things back up after the lighting shift. On went the tape and first coat of mud. I have decided that mudding drywall really isn't my thing - but up to this part it's not so bad.
DAY 4: 2nd Coat Of Mud

Here's where dry-walling and I start to fall apart. Achieving that perfect smooth look is really finicky business. This was my 2nd stab at dry-walling, and I'm not sure that I really improved much from my first attempt. Luckily my Dad was there to help me along with his skilled hands and years of experience!
DAY 4: 3rd Coat of Mud

Yes, we had to mud again. By this point I was definitely ready to move on! However, while I was waiting for all that mud to dry I got busy removing the nasty old lino. Pulling up the lino itself wasn't so bad, but scraping the paper backing off the plywood was a bit of a tedious chore. I found spraying the paper with water and then scraping it up with a putty-knife reasonably effective.

DAY 5: Sanding and Priming

I was so happy to get to this point, but I found sanding dry-wall to be another total pain in the butt! What looks and feels smooth, may not actually be - and every flaw will be revealed once the paint goes up. My Dad taught me to hold a work light level to the wall in order to reveal the flaws that are otherwise invisible to the naked eye, then sand bumps and fill holes. It worked well - but unfortunately just revealed a whole lot more work to be done - ugh! I have learned that dry-walling is not for the faint of heart. If you have the patience for perfection, dry-walling will be your thing - if not, you may want to consider leaving it up to the professionals!
Finally, I could move on to priming! It was so exciting to cover up that nasty pea-soup green!
DAY 6: Paint

Due to the absence of any kind of natural light in my bathroom and it's small size, I opted for an all-white colour scheme to lighten, brighten, and enlarge the space. This involved several coats of paint (4 in total), but each stroke took me further and further away from that dreadful green. It was happy work!
DAY 7: More Paint

Once my walls went white I realized that I was going to have to paint the ceiling as well. It looked so dingy next to the brilliance of my freshly painted white walls! Painting ceilings is not my favourite activity (hard on the neck and arms), but it wasn't too bad in such a small space.
DAY 8: In With The New!
 |
| "Lillholmen" lights from Ikea |
DAY 9: Floor
 |
| See: "How To Install a Herringbone Tile Floor" |
DAY 10: More Floor

Day 10 saw my new floor grouted. Another messy, but satisfying day!
DAY 11: Trim and Paneling

I find all-white spaces most effective when elements of texture, shape and line are added. Without these additional elements, all white can feel too stark, plain and frankly institutional. Paneling my walls brought all these things along with classic elegance and sophistication, and really, was quite easy to do. Day 11 was a very exciting day!
DAY 12: Crown Moulding, and Custom Closet Door
The bathroom closet I created came with an unusually sized door opening that was going to require a custom door. This was actually a lot more simple than I thought it was going to be. We framed in the door jamb, took a plain piece of white shelving material, cut it to size, added trim to the face, a couple hinges to the edge and voila! We had a new custom door, perfectly tailored to blend in with my moulding panels - LOVE!

Installing crown moulding is always a bit tricky, but it is always worth it. I could stare at it all day.
 |
| See: "Cutting and Installing Crown Moulding" |
DAY 13: New Vanity & Toilet Installed

Day 14: Marble Back-Splash
I really wanted a marble counter top for my new bathroom vanity but I just couldn't make it fit into the budget, so instead I settled for a marble mosaic back-splash:
 |
| See "DIY Mosaic Back-Splash" |
DAY 15: More Trim
With the back-splash installed I could finally finish off my wall panels by trimming around the vanity.

DAY 16: Dap, Dap and More Dap


All that moulding meant a LOT of Dapping, not only for aesthetic reasons, but for practical ones too. With the exception of the baseboards, all of the moulding I used in my bathroom was MDF. Typically MDF doesn't do well in moist environments because it will absorb water, warp and swell. To avoid this I had to make sure that all of my moulding was sealed very, very well. By the end of day 13 my finger tips were raw!
DAY 17: More Paint
With every nook and cranny filled with Dap, I could finally seal off my moulding with it's final layer of protection against moisture: 3 more coats of paint!


DAY 18: Mirror & Towel Hooks

DAY 19: Call The Plumber!
We got the faucet started, but couldn't get it finished. A plumber was called and had everything working properly in less than an hour.
 |
| Faucet from faucetdirect.com |
DAY 20: Final Touches
I decided to dress up my vanity by replacing the brass knobs with glass crystal. Normally, these are fairly expensive, but I found them for super cheap on aliexpress.com:


DAY 21: New Bathroom Bliss
I just wanted to stand and stare at my beautiful new bathroom! Looking at the "before" photos it's hard to believe it is the same space!

Beautiful and impressive timeline! I love all of the molding.
ReplyDeleteMy goodness, Abby, I can't believe that you accomplish this and with a little baby to boot. You're amazing. It's gorgeous!
ReplyDeleteWow, this is such a beautiful makeover. I love the board and batten and the all white walls. Beautiful result!
ReplyDeleteI’ve read a few posts here and I can actually relate. Last July my Fiancé and I were looking for a reliable bathroom remodeling company in Naperville, IL and we were having a tough time. Our Pastor recommended Classic Kitchen & Bath, and I must say the service was superb. The CKB team was so professional and very knowledgeable about the latest design trends and installation. What I liked the most is that they kept us in the loop of information. I suggest you check out www.myclassickitchenandbath.com or call 630-515-9151 for all residential bathroom remodeling concerns.
ReplyDeleteBeautiful transformation! I love the white theme, very elegant, clean and simple! Kudos! -Patrick Tan
ReplyDeleteThis comment has been removed by the author.
ReplyDeleteWhat an incredible transformation! I'm in the middle of a powder room reno. Thinking about paneling the walls, your remodel makes me want to do it! So happy I found your blog!
ReplyDeleteWow. If anyone wants to remodel their bathroom from scratch, they should see this post first. Not only was the before and after comparison impressive, but you got things right on the first try. Well, for the most part, until the taps didn't work. Haha! It was a good idea to get professional help when plumbing got involved. You don't want to mess up your awesome creation with three days left, right? Great work, and thanks for sharing!
ReplyDeleteLaverne Knight @ Midland Mechanical
pics and works are really good keep working
ReplyDeletehttp://www.goldencollections.com/pearls/pearl-necklace-sets
Thank you for making this astounding article, informative and knowledgeable!! We have so much to learn from this. Anyway, If you are interested and looking for
ReplyDeletereupholstery services Singaporeyou may visit our website. You can also check our available services to offer. Thank you and More power!!
Like your article! best regards from sunny Indonesia!
ReplyDeletePlease, evaluate my creativity in www.caramembuatwebsiteku.com Your feedback is more than welcome
Get your Logo design services package with free website Design plus Business Stationery design by selecting our supreme Logo package
ReplyDeleteNeed a trusted locksmith near me in an emergency? Choose Locksmith Boynton Beach for fast, reliable service.
ReplyDelete